You can assign one or more tags to the elements of an app, e.g. views, tasks, web service endpoints and flows, one after the other.
Tags in an app are used to divide related elements into categories. Filtering by a specific tag always displays all elements to which this tag has been assigned. You can also filter by several tags at the same time to display all elements that have at least one of the selected tags.
The names of tags may contain spaces and special characters. You can use tags to find these related elements more quickly. The tags belong to the properties of the element and are displayed in the detail area of the element after selecting the element.
-
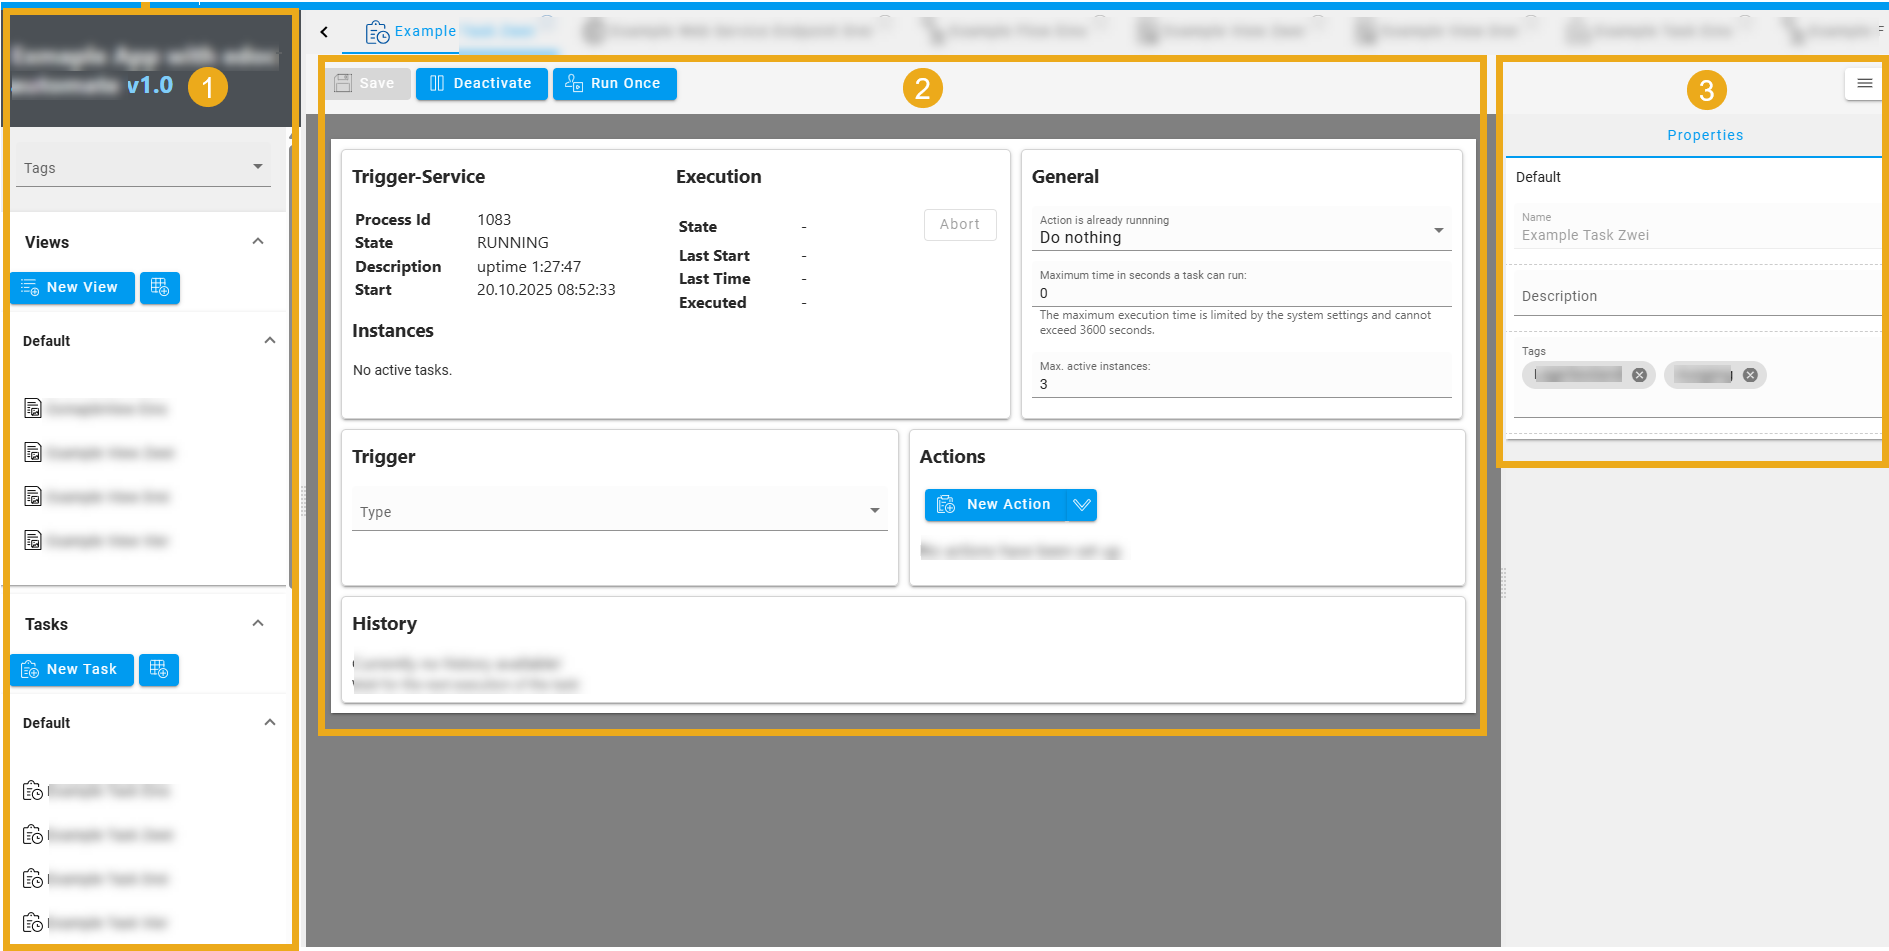
If you are in an app in edoc automate, the filter function for elements is displayed in the sidebar.
-
Clicking on an element opens the work area for the element and the detail area is displayed.
-
In the detail area in the Default section, you will find the name of the element, the description and the tags.
Display tags for filtering an element
Add a tag to an element
You can add a tag to an element at any time.
Here's how
-
Open the app.
-
Click on the element you want to edit to open the element's workspace.
-
Click on Tags in the detail area of the element.
-
Enter the name for the new tag.
-
Press the Enter key to add the name as a tag.
-
Click on Save to save the tag of the element.
Removing the assignment of a tag to an element
You can remove the assignment of an existing tag at any time.
Here's how
-
Open the app.
-
Click on the element you want to edit to open the element's workspace.
-
In the detail area, click on the x next to the tag you want to remove.
-
Click on Save to update the element.
Tip
You can deselect the Tags filter in the sidebar by deactivating each individual tag in the selection list.